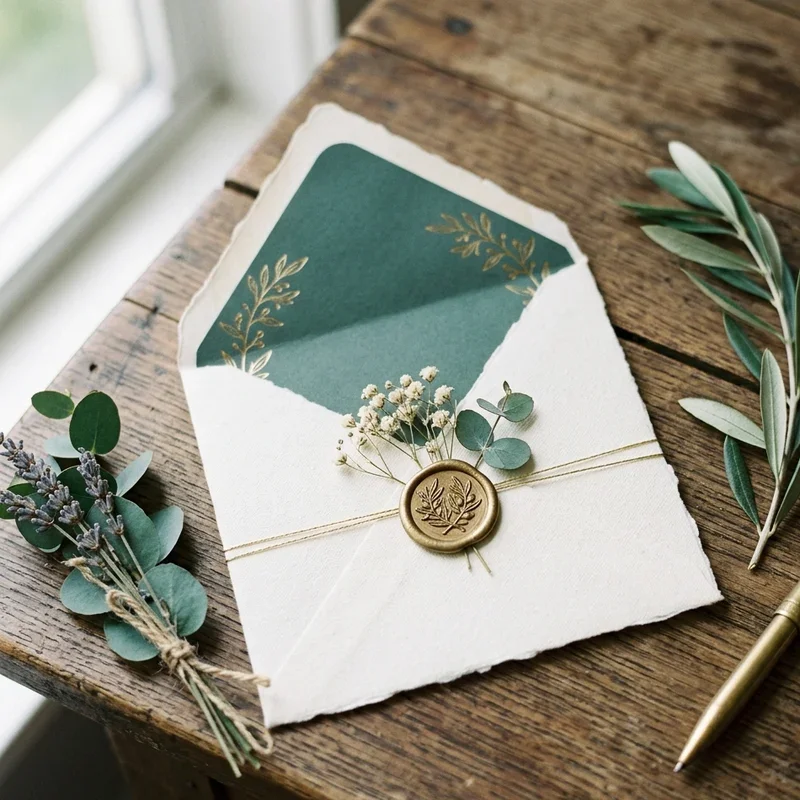
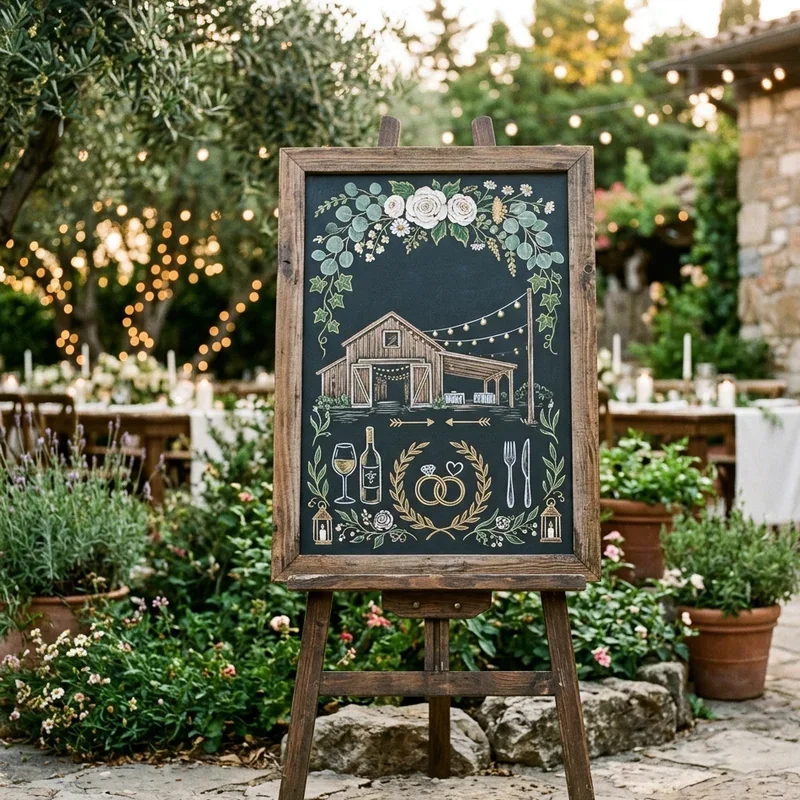
How to Make a Wedding Bouquet: Tips for Perfect Design
Discover how to make a wedding bouquet with tips for perfect design. Create stunning floral arrangements for your special day!
There's something undeniably magical about a bride walking down the aisle clutching a gorgeous bouquet of flowers. It's one of those iconic wedding images that gets etched into everyone's memory forever. But here's a little secret that might surprise you: creating your own wedding bouquet isn't nearly as intimidating as it seems. In fact, with the right guidance and a bit of practice, you can craft something absolutely stunning with your own two hands.
Now, why would anyone want to DIY their wedding bouquet when professional florists exist? Well, let me count the reasons! First off, there's the cost savings, which can be pretty substantial when wedding budgets are already stretched thin. Then there's the personal satisfaction of carrying something you made yourself down the aisle. And honestly? Some brides just want that extra level of creative control over every detail of their big day.
Learning how to make a wedding bouquet with tips for perfect design opens up a whole world of possibilities. You get to choose every single bloom, play with colors until they're exactly right, and create something that truly reflects your personality and style. Whether you're going for romantic and traditional or wild and whimsical, the power is entirely in your hands.
Throughout this guide, we'll walk through everything from selecting the right flowers to wrapping your finished creation like a pro. So roll up your sleeves, grab your favorite beverage, and let's dive into the wonderful world of DIY wedding bouquets. By the end of this article, you'll feel confident and excited to create your own floral masterpiece!
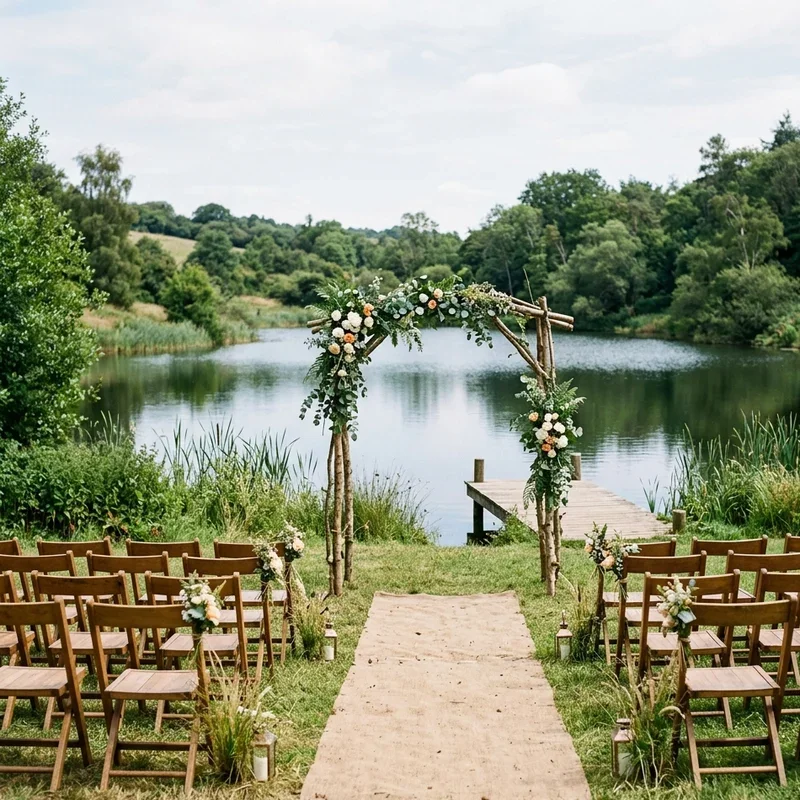
Understanding Different Bouquet Styles
Before you start buying flowers willy-nilly, you've got to figure out what style of bouquet speaks to your heart. Different styles suit different wedding aesthetics, dress silhouettes, and personal preferences.
The Classic Round Bouquet
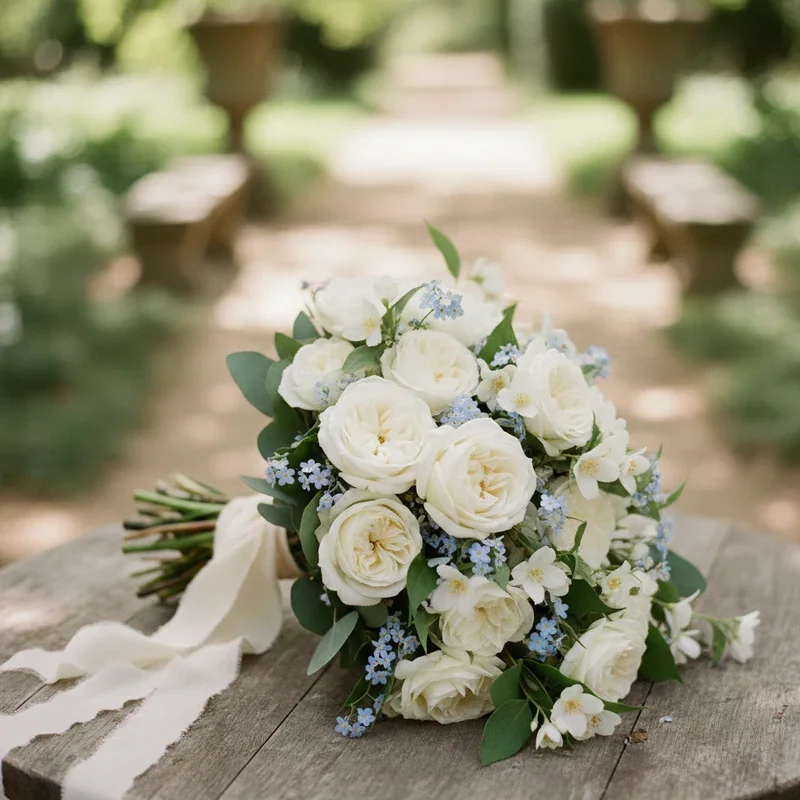
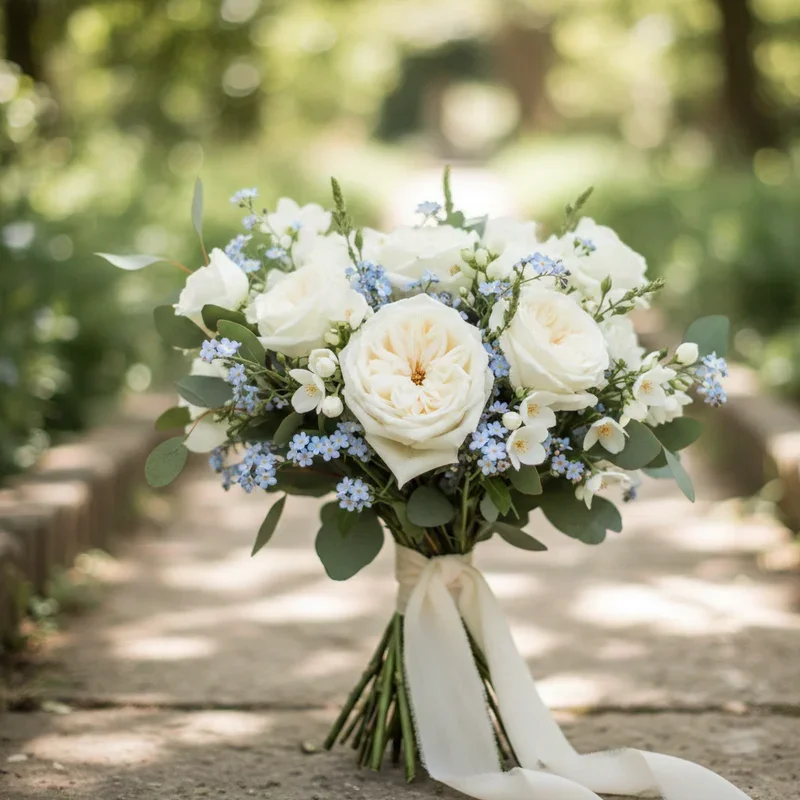
This timeless style features flowers arranged in a dome shape, creating a symmetrical, polished look. Round bouquets work wonderfully with traditional ball gowns and formal wedding settings. They're also one of the easier styles to master for beginners, making them a great starting point.
The Cascading Bouquet
Remember Princess Diana's iconic wedding bouquet? That's a cascading design in all its glory! Flowers and greenery spill downward in a waterfall effect, creating dramatic visual impact. Fair warning though: these beauties require more advanced skills and significantly more materials.
The Hand-Tied Bouquet
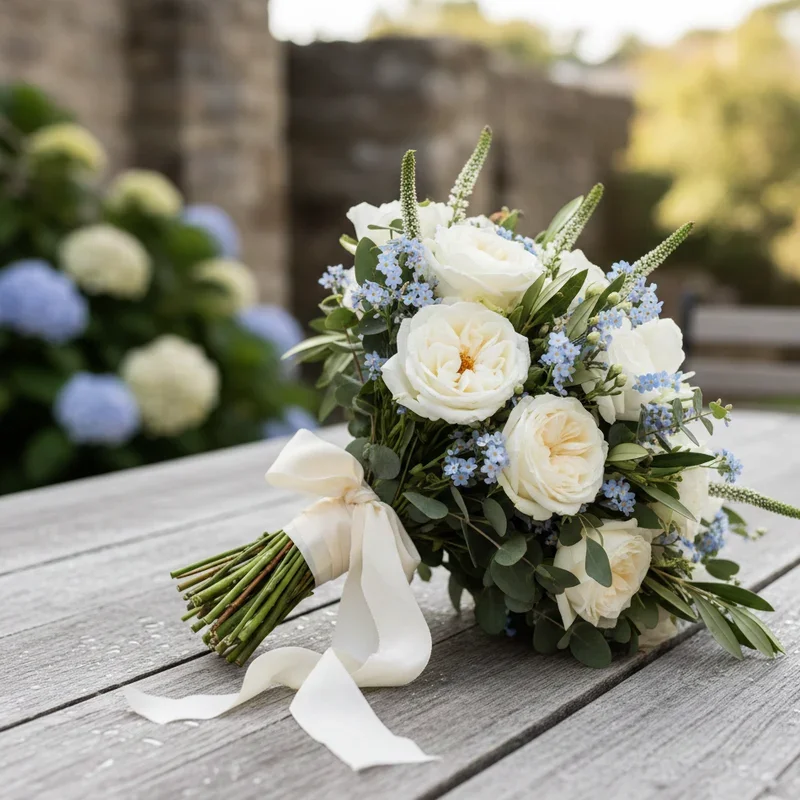
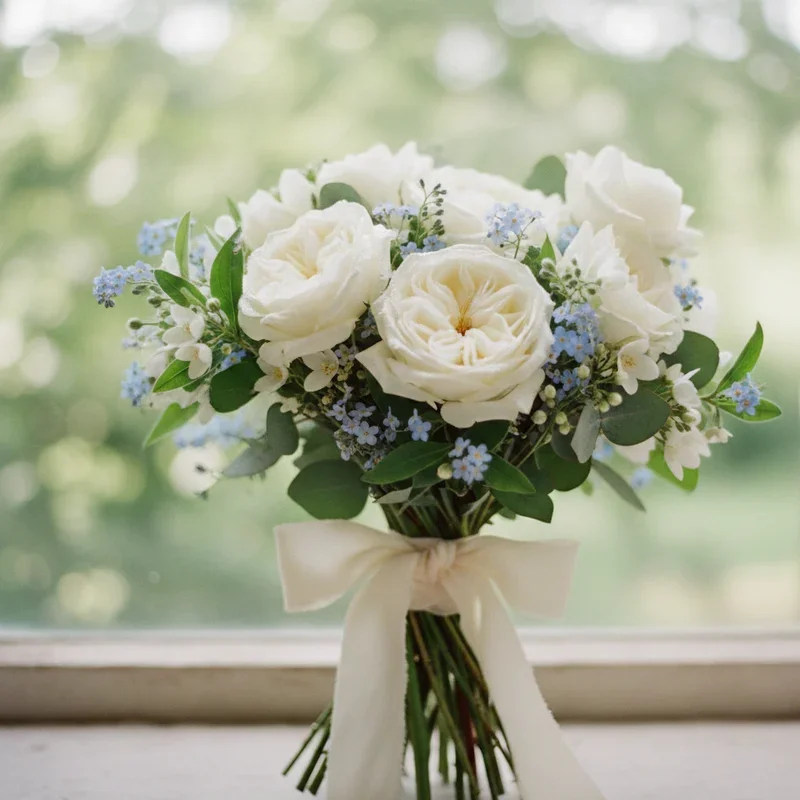
Casual, natural, and utterly charming, hand-tied bouquets look like you just gathered flowers from a meadow and tied them together. They're incredibly popular for rustic, bohemian, and outdoor weddings. The seemingly effortless look actually requires thoughtful flower selection and arrangement.
The Nosegay Bouquet
Compact and sweet, nosegay bouquets are tightly packed arrangements that sit easily in one hand. They're perfect for petite brides or those who want something understated and elegant. These smaller designs also photograph beautifully up close.
The Posy Bouquet
Similar to nosegays but slightly looser, posy bouquets incorporate more greenery and have a garden-fresh appearance. They bridge the gap between formal and casual perfectly.
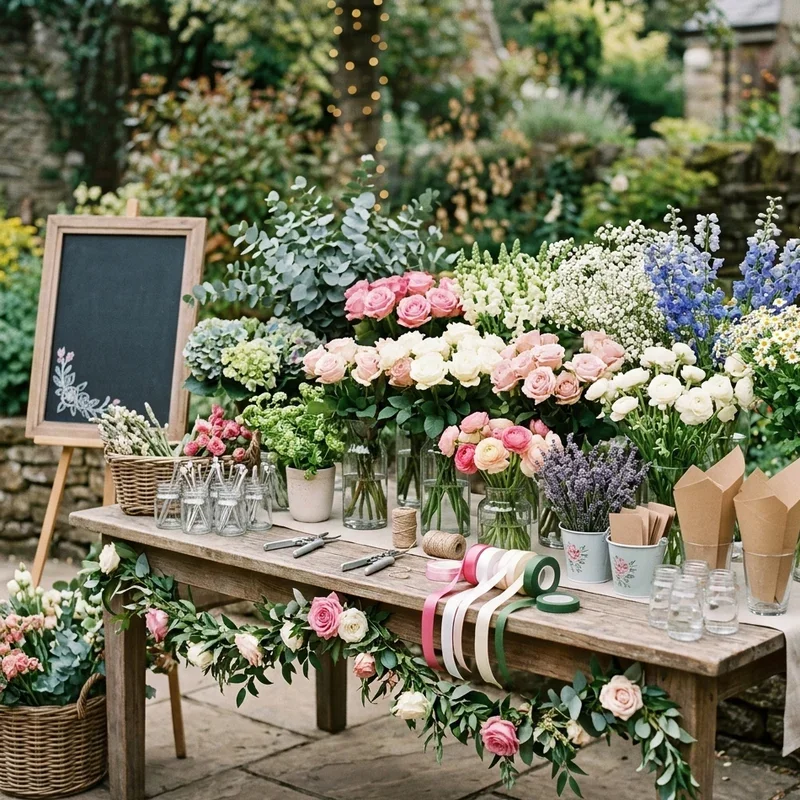
Selecting Your Flowers Wisely
Alright, here's where things get really exciting! Choosing your flowers is arguably the most fun part of the entire process. But hold your horses before rushing to the nearest flower market.
Consider Seasonality
Mother Nature knows best, folks. Flowers that are in season during your wedding month will be fresher, more affordable, and easier to find. Spring brings tulips, peonies, and ranunculus. Summer offers dahlias, sunflowers, and garden roses. Fall showcases chrysanthemums and marigolds. Winter features amaryllis, anemones, and hellebores.
Think About Durability
Some flowers are real troopers that hold up beautifully without water for hours. Others will wilt faster than ice cream on a hot sidewalk. For wedding bouquets, prioritize hardy varieties.
Strong performers include:
Roses (especially garden varieties)
Carnations (don't knock them, they're gorgeous!)
Orchids
Chrysanthemums
Succulents
Eucalyptus
Flowers that need extra care:
Hydrangeas
Peonies
Gardenias
Sweet peas
Tulips
Color Coordination
Your bouquet should complement your wedding color palette without competing with your dress. Consider these tips:
White and ivory dresses pair beautifully with almost any color
Blush bouquets create soft, romantic vibes
Bold jewel tones make dramatic statements
Greenery-heavy designs suit modern, minimalist aesthetics
Mixed wildflower colors work for bohemian celebrations
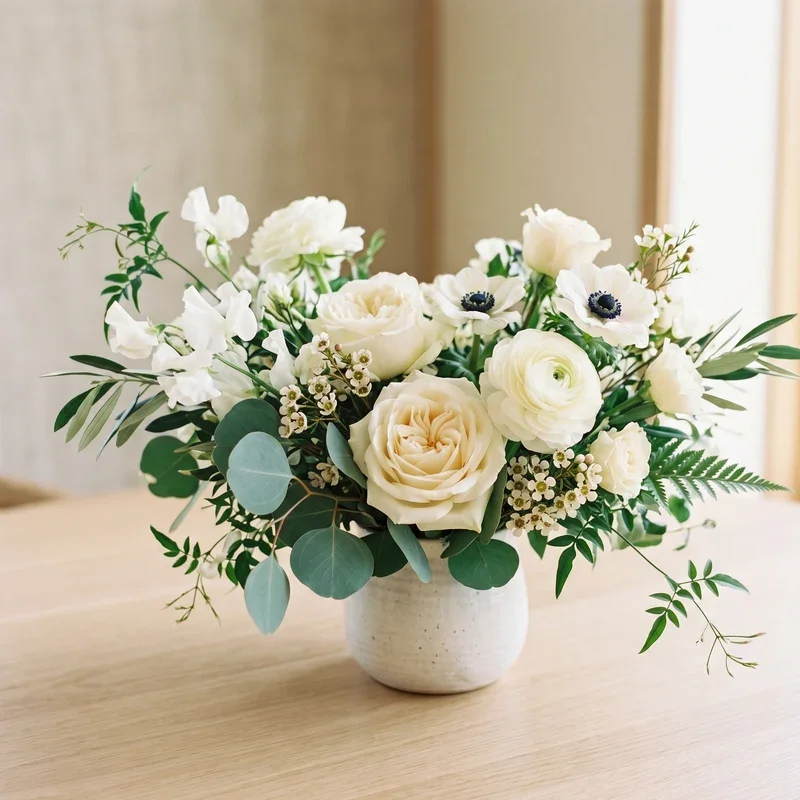
Texture and Variety
A stunning bouquet isn't just about pretty blooms. It needs visual interest through varied textures and shapes. Mix large focal flowers with smaller filler blooms, then add greenery and interesting textural elements like berries, seed pods, or dusty miller.
How to Make a Wedding Bouquet: Tips for Perfect Design and Preparation
Now we're getting to the good stuff! Proper preparation sets the foundation for a beautiful finished product.
Gather Your Supplies
Before touching a single flower, make sure you've got everything ready:
Sharp floral scissors or pruning shears
Floral tape (both waterproof and regular)
Floral wire (various gauges)
Ribbon or fabric for wrapping
Pearl pins or decorative pins
Water tubes for delicate stems
A clean bucket of fresh water
Stem stripper tool
Wire cutters
Prepare Your Flowers
This step is crucial, so don't skip it! About 24 hours before assembling your bouquet, you'll want to condition your flowers properly.
Start by filling clean buckets with lukewarm water and floral preservative. Using sharp scissors, cut each stem at a 45-degree angle while holding it under water. This prevents air bubbles from blocking water uptake. Remove any leaves that would sit below the water line since submerged foliage breeds bacteria.
Let your flowers drink deeply overnight in a cool, dark location. This hydration process ensures they're plump, happy, and ready to shine on your big day.
Practice Makes Perfect
Here's some real talk for you. Please don't attempt your wedding bouquet for the very first time the night before your wedding! Buy inexpensive practice flowers from the grocery store and create several test bouquets first. You'll work out the kinks, develop muscle memory, and gain confidence.
Step-by-Step Assembly Instructions
Okay, deep breath! It's time to actually build this thing. Following these steps will help you understand how to make a wedding bouquet with tips for perfect design that looks professionally crafted.
Step 1: Select Your Focal Flowers
Choose three to five of your largest, most beautiful blooms as the stars of your bouquet. These anchor the entire design, so pick the best of the bunch. Hold them together in your non-dominant hand at a natural angle.
Step 2: Build the Foundation
Working in a spiral pattern, begin adding flowers around your focal blooms. Turn the bouquet slightly in your hand as you add each stem, placing them at consistent angles. This spiral technique creates that beautiful, natural fall that professional florists achieve.
Keep the stems loose in your grip initially. You want to be able to adjust and move things around as you build.
Step 3: Add Supporting Flowers
Now introduce your secondary flowers and fillers. Tuck smaller blooms between larger ones, filling gaps and creating depth. Step back frequently to assess your progress from different angles.
Step 4: Incorporate Greenery
Greenery frames and softens your arrangement beautifully. Add eucalyptus, ferns, or other foliage around the edges, allowing some pieces to cascade naturally. Don't overdo it though; greenery should enhance, not overwhelm.
Step 5: Check Your Shape
Hold your bouquet up to a mirror or take photos to evaluate the shape from different perspectives. Add or remove elements as needed to achieve balance and symmetry (or intentional asymmetry if that's your style).
Step 6: Secure the Stems
Once you're satisfied with the arrangement, it's time to lock everything in place. Starting just below where the blooms begin, wrap floral tape tightly around all the stems. Work your way down about three to four inches, overlapping slightly with each pass.
Step 7: Trim the Stems
Using sharp scissors, cut all stems to uniform length. The standard length leaves about six to eight inches of handle below the tape, but adjust based on your preference and comfort.
Step 8: Wrap the Handle
This finishing touch makes all the difference! Starting at the top of the taped section, wrap ribbon around the stems, overlapping slightly as you work downward. Secure with pins tucked discreetly into the ribbon. You can add decorative elements like brooches, charms, or lace for extra personality.
Pro Tips for Flawless Results
Want to take your bouquet from good to absolutely jaw-dropping? These insider tips will help elevate your creation.
Create Visual Movement
Avoid placing all similar flowers at the same level. Vary heights slightly to create movement and interest. Some blooms should nestle deeper while others reach outward.
Think About Photography
Your bouquet will be photographed extensively, so consider how it looks from above (for flat-lay shots), from the front (ceremony photos), and from the side (processional images). It should be beautiful from every angle.
Balance Weight Distribution
Heavy bouquets become tiring to hold during long photo sessions and ceremonies. Keep yours manageable by using fewer stems and lighter flowers if needed. Your arms will thank you!
Keep Everything Fresh
Mist your completed bouquet lightly with water and store it in the refrigerator until needed. Avoid placing it near fruits or vegetables, as they release gases that can wilt flowers. Take it out about 30 minutes before photos to let it reach room temperature.
Have a Backup Plan
Things happen, flowers are unpredictable living things after all! Keep extra blooms and supplies on hand for last-minute fixes. If a flower looks questionable, swap it out without hesitation.
Common Mistakes to Avoid
Learning from others' missteps saves you from repeating them. Watch out for these frequent DIY bouquet blunders.
Making stems too short (always leave more length than you think you need)
Overcrowding with too many flowers
Forgetting to remove thorns from roses
Wrapping tape too loosely
Choosing all one type of flower without variety
Ignoring scale relative to your body frame
Assembling too far in advance
Caring for Your Bouquet on the Big Day
You've created something beautiful; now protect it! Designate someone trustworthy to be the bouquet guardian. They should keep it in water until the last possible moment, mist it periodically, and store it in a cool location away from direct sunlight.
If your venue allows, keep a small vase of water available for the bouquet to rest in between photos. Those few minutes of hydration can make a real difference.
Conclusion
Mastering how to make a wedding bouquet with tips for perfect design allows you to carry something truly personal down the aisle. From selecting seasonally appropriate flowers to assembling with professional techniques, each step contributes to your stunning final creation. Remember to practice beforehand, prepare your blooms properly, and embrace the creative process. Your handmade bouquet will hold extra sentimental value for years to come, serving as a beautiful symbol of the love and care you put into every detail of your special day.
Read next: 15 Wedding Drink Station Ideas for Stylish Refreshments
Frequently Asked Questions
1. How far in advance should I make my wedding bouquet?
Assemble your bouquet one to two days before, storing it properly in refrigeration overnight.
2. What flowers are best for DIY wedding bouquets?
Roses, carnations, eucalyptus, and succulents are hardy choices perfect for DIY bridal bouquets.
3. How many stems do I need for a bridal bouquet?
Most bridal bouquets contain 25 to 40 stems depending on flower size and desired fullness.
4. Can I make my bouquet with artificial flowers instead?
Absolutely, silk flowers offer durability and allow assembly weeks ahead without wilting concerns.
5. How do I keep my bouquet fresh throughout the wedding?
Mist regularly, store in cool locations, and keep stems in water whenever possible throughout.
Stay up to date with our latest ideas!